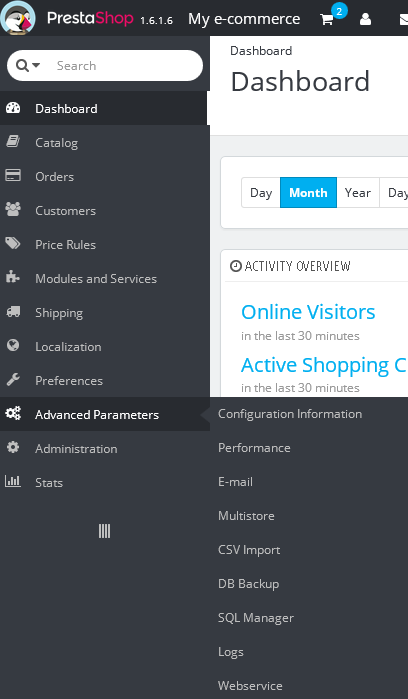
In PrestaShop admin on the right-hand side of the dashboard go to advanced parameters then down to webservice.
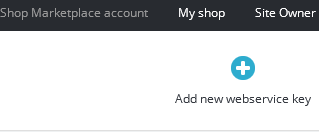
On the left hand side of the page in webservices click on add new webservice key.
Now you want to create a new key so click on the generate button and enter a key description. Make sure the status is set to YES. Set all permissions to be ticked by ticking the top box in the table.
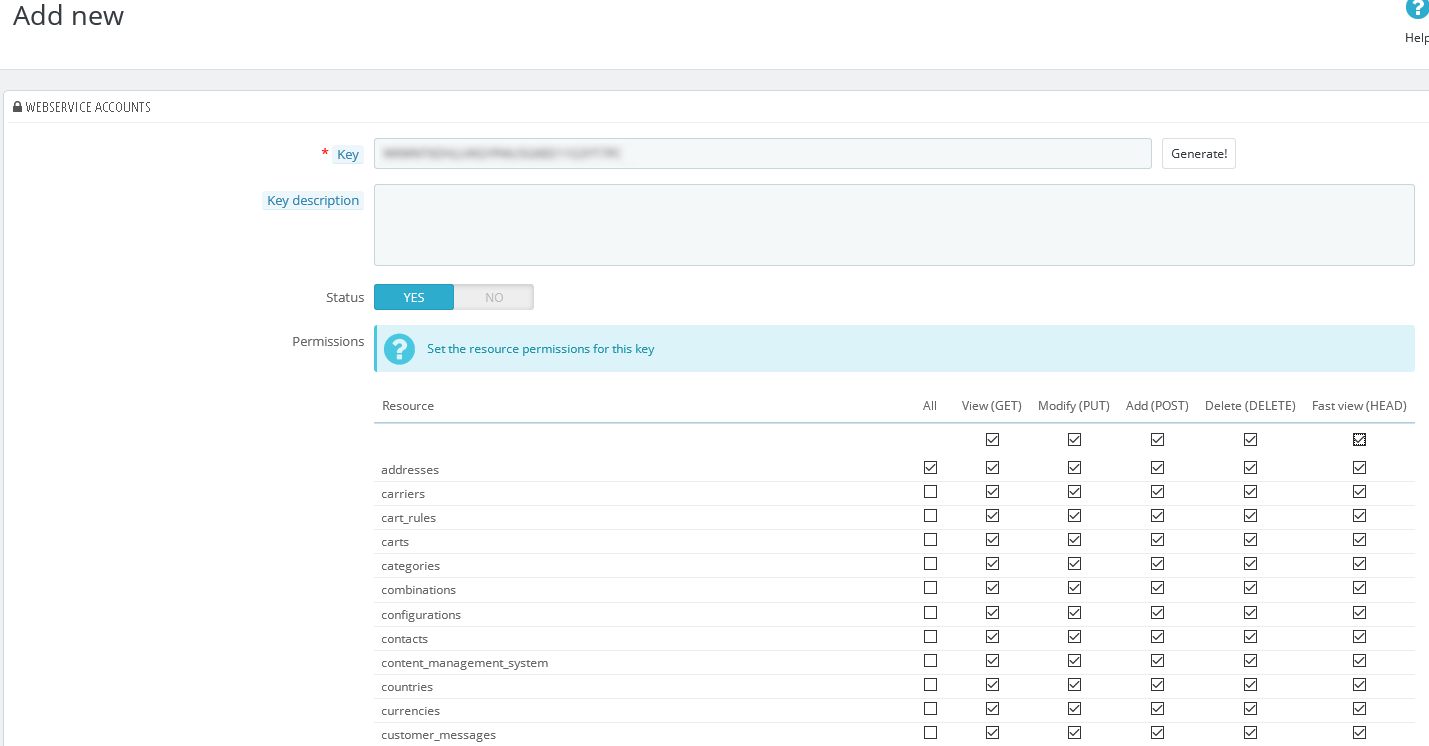
Make sure to scroll to the bottom of the permissions page and click save.

Next go to the navigation panel and click on preferences then general.
At the top of the general settings set the enable SSL to YES. If you find this is greyed out click on the please click here to check if your shop supports HTTPS.
After clicking the HTTPS link, you should be able to click the SSL option to yes if you can’t contact your domain provider.

Scroll down to enable multistore to yes and click save at the bottom of the page.


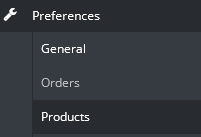
Next go to preferences products.
And disable catalogue mode.

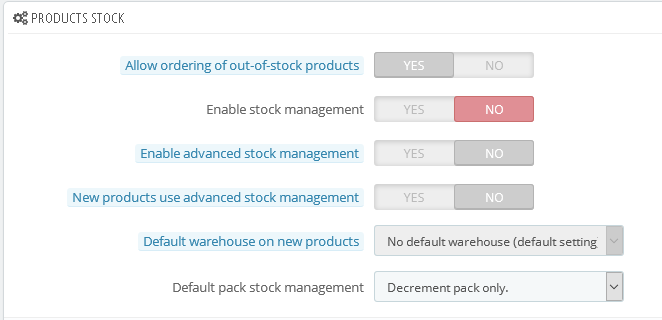
Scroll down till you find products stock and set enable stock management to No.
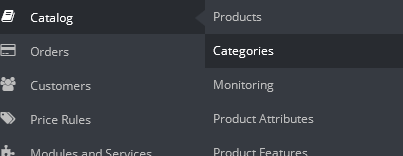
On the right-hand side dashboard menu go to catalogue then categories.
Add Categories as required. Categories are used in PrestaShop to determine where Products will display. Home indicates the Home page. You will use the PrestaShop Categories you have created to map to POS Sales Categories and Department from within the WebIT plugin setup.
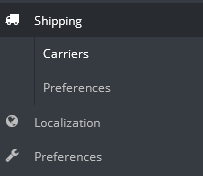
Go to shipping and then to carriers and click on add new carrier.
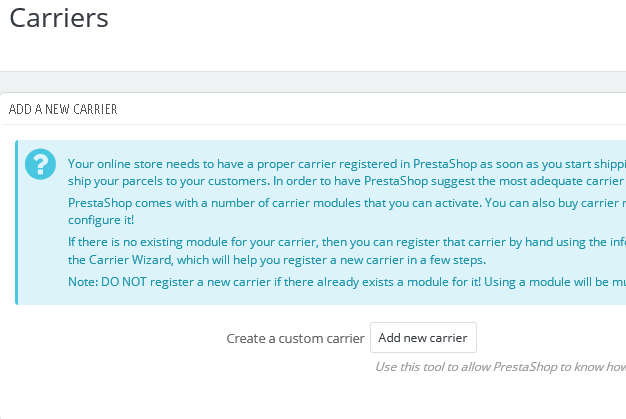
In the Carriers page click on add new carrier.
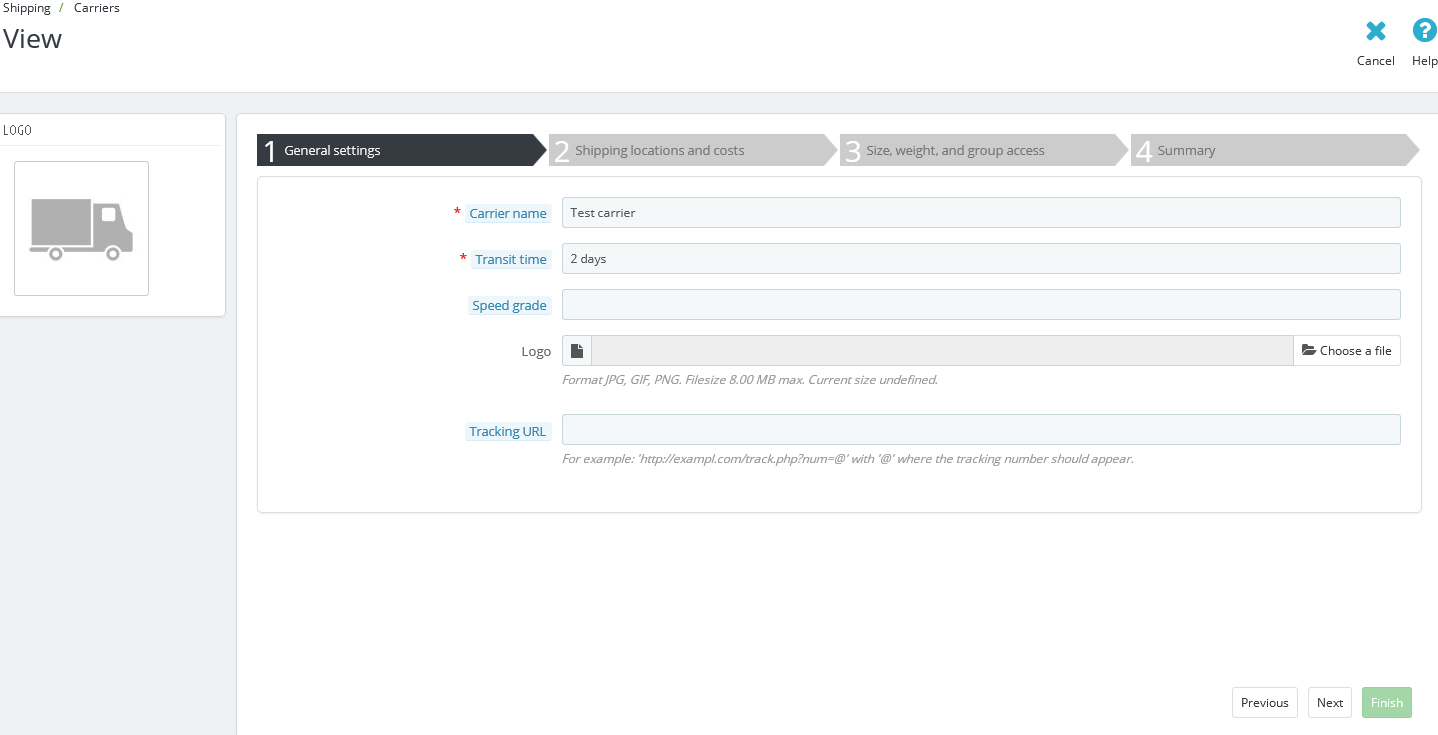
On the next page input the details of the carrier you have chosen. You may input more than one and click next at the bottom of the page.
In shipping locations and costs is where you will set if you are shipping by location or weight. Here you set the costs for shipping and handling. In the example, we have set a base rate for all locations but this can be set according to carrier costs. Set your range of when you require costings to be applied to orders.
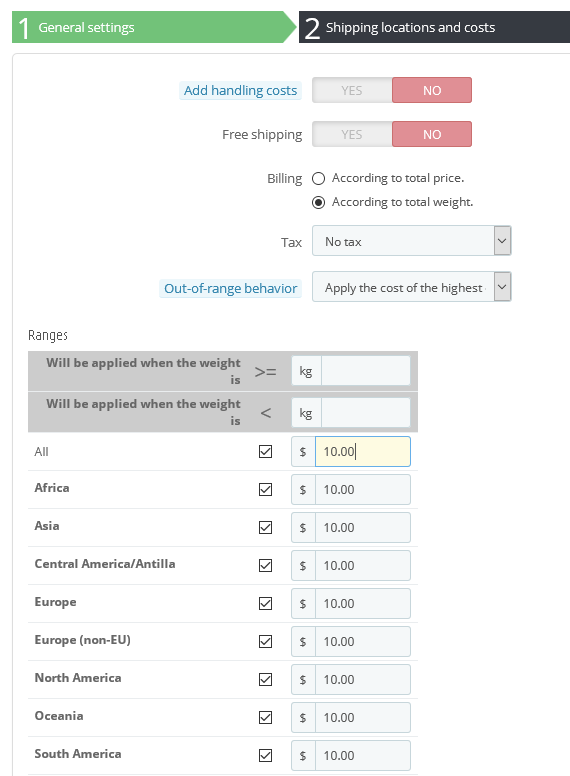
When complete click next at the bottom of the page.
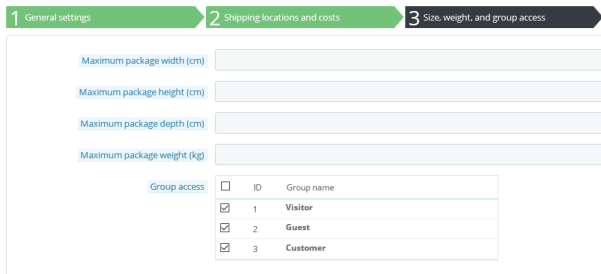
If you are choosing to ship items by weight then size, weight, is where you will set your maximum sizing.
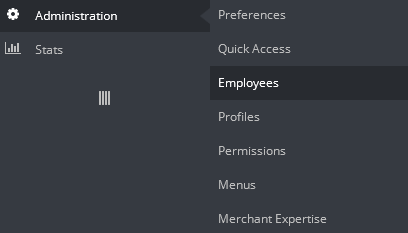
Go to administration then employees to add users with specific rights if required and click save.

The other options you have to configure in the WebIT configuration are as follows.
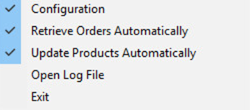
When you click on the WebIT icon you will also see RETRIEVE ORDERS AUTOMATICALLY which needs to be set to TRUE to retrieve orders from the site enabling them into Idealpos.
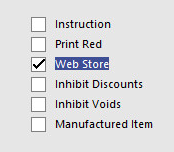
UPDATE PRODUCTS AUTOMATICALLY will sync the selected stock items you have previously ticked web store with stock item description cost and stock levels once you have created the stock items on the site.
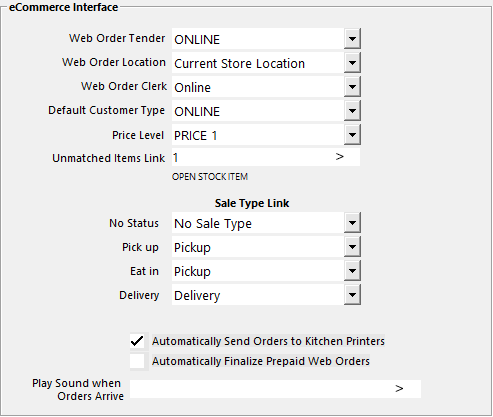
Under global option under the tab INTERFACES you will find the web ordering via ideal WebIT configuration panel choose what options you will need for your setup.

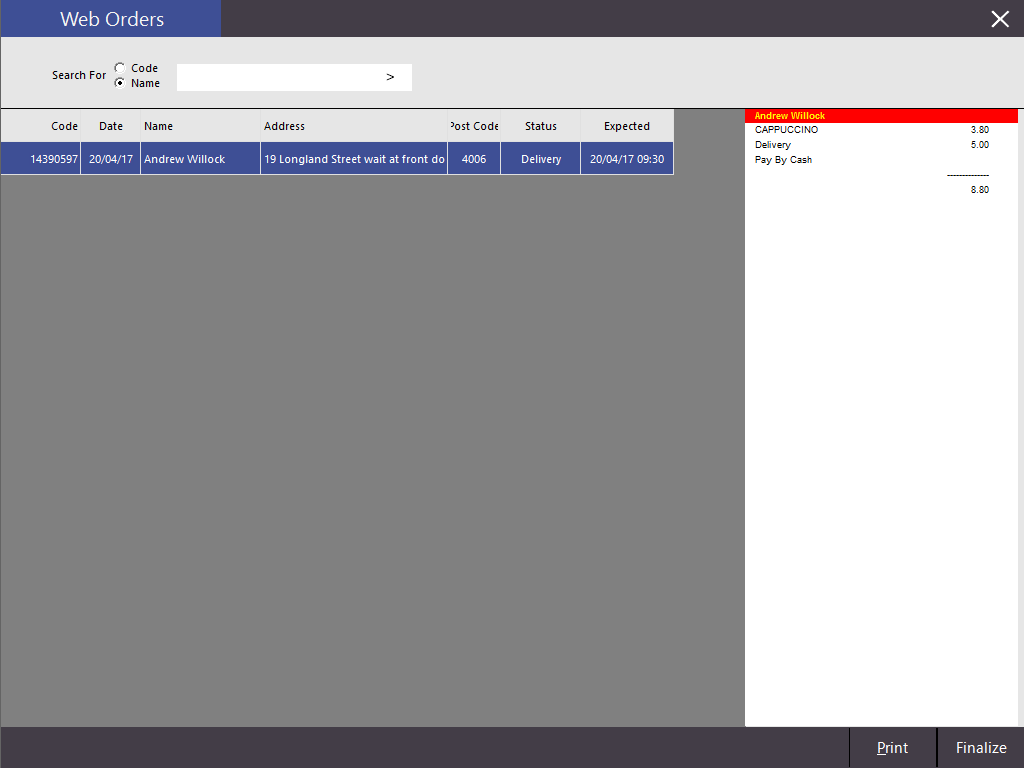
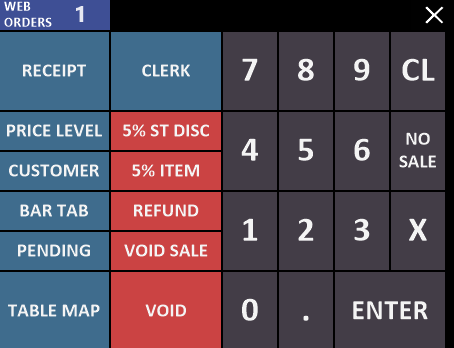
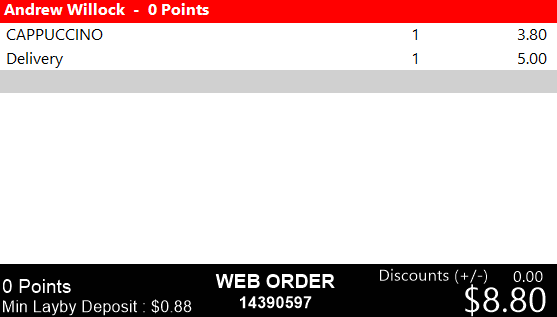
When the web order is received in Idealpos you will see the web orders button appear at the top of the POS screen. Click on it to access the pending web orders.
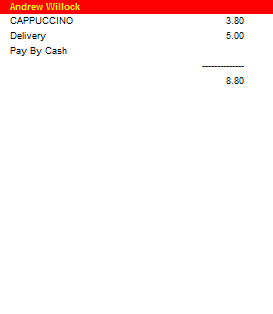
Once in the web orders screen you can see the web order that is waiting to be finalized. The code represents the web order and flows through the complete order from WebIT to POS to receipt.
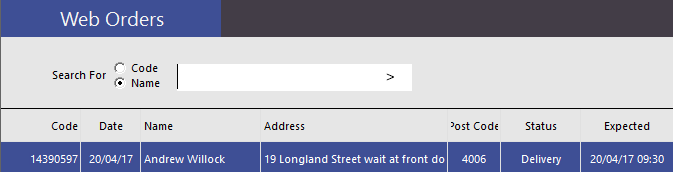
By clicking finalize this will bring the order into POS with its matching web order number to keep track of the order.
In Idealpos v7 only we have added a print button in the WebIT window that will print a sales invoice.